Breathing New Life Into Old Furniture: A Step-by-Step Guide to Trendy Transformations
Is that outdated dresser gathering dust in the corner? Or perhaps you have a chair with a wobbly leg and faded finish that you just can’t bring yourself to throw away? You’re not alone. Across the United States, over 12 million tons of furniture are discarded each year, much of it still structurally sound. Yet, with a bit of creativity, some essential tools, and a willingness to experiment, transforming old furniture into trendy, eye-catching pieces is not only possible—it’s rewarding and eco-friendly.
This guide will walk you through the process of turning your forgotten furniture into stylish statement pieces. Whether you’re a DIY novice or a seasoned upcycler, you’ll discover practical steps, inspiring ideas, and the essential know-how to give old furniture a second life.
Why Upcycling Furniture Is More Popular Than Ever
Upcycling, or creatively repurposing old items, is experiencing a surge in popularity. According to a 2023 survey by Statista, 42% of Americans have attempted at least one upcycling project in the last year. But what’s driving this trend?
.png) - Environmental Concerns: With landfill waste at an all-time high, upcycling helps reduce the environmental impact by diverting furniture from landfills.
- Cost Savings: Refurbishing old furniture can cost up to 80% less than buying new, especially for high-quality wood pieces.
- Customization: Upcycling lets you tailor furniture to your style, color palette, and functional needs, creating unique pieces you won’t find in stores.
- Emotional Value: There’s satisfaction in reviving a family heirloom or flea market find and making it relevant for today’s decor.
- Environmental Concerns: With landfill waste at an all-time high, upcycling helps reduce the environmental impact by diverting furniture from landfills.
- Cost Savings: Refurbishing old furniture can cost up to 80% less than buying new, especially for high-quality wood pieces.
- Customization: Upcycling lets you tailor furniture to your style, color palette, and functional needs, creating unique pieces you won’t find in stores.
- Emotional Value: There’s satisfaction in reviving a family heirloom or flea market find and making it relevant for today’s decor.
By transforming old furniture, you’re not only saving money and resources but also crafting stories and memories that last.
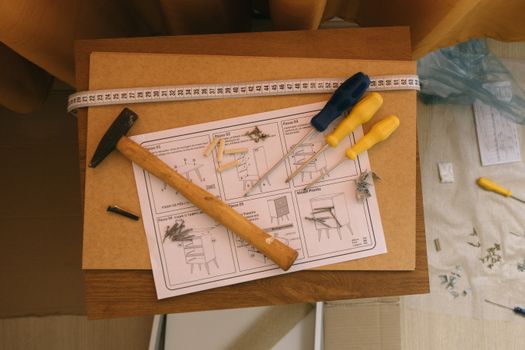
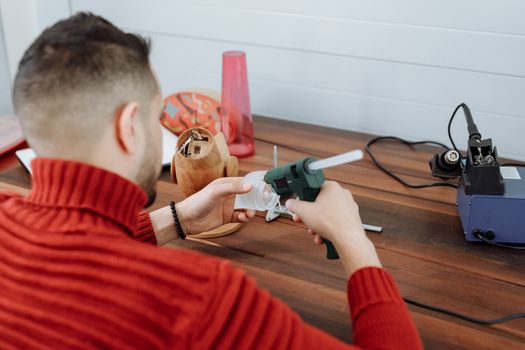
Essential Tools and Materials for Furniture Transformation
Before you dive in, assembling the right tools and materials is key for a smooth and successful upcycling project. Here’s what you’ll need for most furniture transformations:
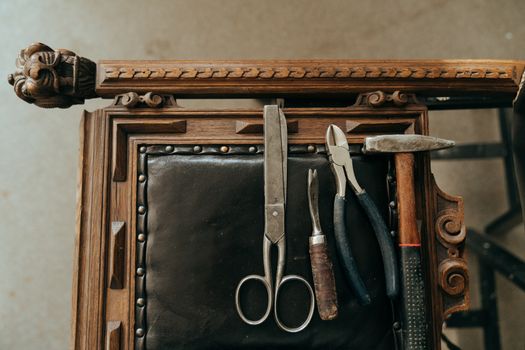
- Sandpaper and Sanding Block: For removing old finishes and smoothing surfaces. Grits from 80 (coarse) to 220 (fine) are typical. - Screwdrivers and Pliers: To tighten, remove, or replace hardware and legs. - Paintbrushes and Rollers: For applying paint, primer, or sealant. - Drop Cloths and Painter’s Tape: To protect your work area and achieve crisp paint lines. - High-Quality Paint or Stain: Chalk paint, milk paint, or wood stains are popular choices. - Primer: Essential for glossy surfaces or pieces with stains. - Clean Cloths and Tack Cloth: For wiping dust and cleaning before painting. - New Hardware: Modern knobs, pulls, or hinges can instantly update furniture.Optional extras include a drill, power sander, wood filler, upholstery tools, and stencils for added flair. Investing in quality tools pays off in the long run, making future projects easier and more professional.
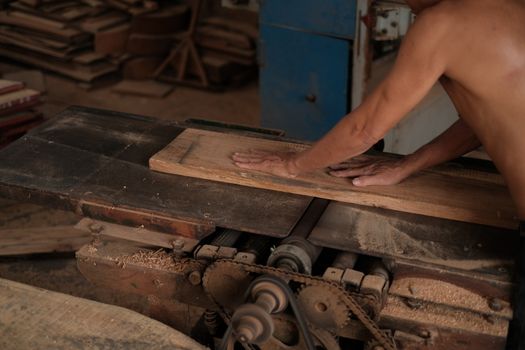
Step-by-Step Makeover: From Drab to Fab
Transforming old furniture can feel daunting, but breaking it down into manageable steps makes it approachable for anyone. Here’s a proven process to guide you:
1. $1 - Inspect for damage: Check for loose joints, missing hardware, or wood rot. - Decide on your vision: Will you paint, stain, or reupholster? Find inspiration on Pinterest or Instagram. - Sketch or save reference images to guide your work. 2. $1 - Clean thoroughly: Remove dirt, grease, and old wax using a gentle cleaner. - Remove hardware: Unscrew pulls, knobs, or hinges. - Sand: Start with a coarse grit to remove old finish, then smooth with finer grit. - Fill holes or cracks: Use wood filler, then sand smooth. 3. $1 - Apply primer if needed: Especially for dark woods or glossy finishes. - Paint or stain: Use even strokes. Two thin coats are better than one thick coat. - Let dry: Follow manufacturer’s instructions for drying and curing times. 4. $1 - Replace hardware: Choose modern, vintage, or quirky knobs and handles. - Add stencils or decals: Geometric shapes, botanical motifs, or metallic accents are on-trend. - For upholstery: Replace old fabric with a bold print or textured textile. 5. $1 - Apply a topcoat: Polyurethane, wax, or oil protects your finish. - Let cure: Allow up to 24-48 hours for full curing before heavy use. 6. $1 - Reattach hardware and legs. - Place your piece in its new home and style with plants, books, or decor for a finished look.Real-life example: In 2022, DIY blogger Anna R. transformed a $20 thrift store dresser into a boho-chic masterpiece using teal chalk paint, brass pulls, and a hand-painted sunburst pattern. The result? A unique, Instagram-worthy statement piece, all for under $50.
Popular Upcycling Techniques and Trends
Whether you prefer a rustic farmhouse, mid-century modern, or eclectic bohemian look, today’s upcycling trends offer something for everyone. Here are some of the hottest techniques and ideas:
- $1 Paint drawers and frames in contrasting colors for a modern edge. - $1 Add patterned paper or fabric to drawer fronts for whimsical detail. - $1 Sand back paint at edges and corners for a vintage, shabby-chic effect. - $1 Use gradient shades from light to dark for a bold, contemporary twist. - $1 Gold, matte black, or acrylic handles can instantly modernize a piece. - $1 Elevate low dressers or cabinets with modern hairpin or tapered wood legs. - $1 Line the inside of drawers or shelves for a hidden pop of pattern.According to Etsy’s 2023 trend report, searches for “painted furniture” increased by 36%, and “upcycled dresser” by 29%, highlighting the growing appetite for creative transformations.
Choosing the Right Finish: Paint, Stain, or Natural?
Selecting the right finish is crucial to achieving the look and durability you desire. Here’s a comparison of popular options:
| Finish Type | Best For | Pros | Cons |
|---|---|---|---|
| Chalk Paint | Vintage, matte looks | No sanding needed, easy to distress, fast drying | Requires wax/sealant, less durable for heavy use |
| Milk Paint | Antique, rustic finishes | Eco-friendly, authentic look, chips naturally | Unpredictable finish, needs sealing |
| Acrylic Paint | Bold colors, modern styles | Wide color range, affordable, easy cleanup | May need primer, can show brush marks |
| Wood Stain | Highlighting grain, classic styles | Durable, natural look, protects wood | Requires good prep, limited color options |
| Natural Oils/Waxes | Preserving natural wood | Non-toxic, enhances grain, easy maintenance | Needs regular reapplication, less water-resistant |
For high-traffic pieces like dining tables, opt for durable polyurethane finishes. For accent pieces, experiment with chalk or milk paint for on-trend style.
Upcycled Furniture Project Ideas for Every Skill Level
Not sure where to start? Here are some beginner-friendly and advanced project ideas to spark your creativity:
- $1 - Paint and stencil a plain wooden stool. - Replace drawer pulls on a tired dresser for an instant update. - Apply removable wallpaper to the back of a bookcase. - $1 - Convert a vintage door into a hall bench with storage. - Add new legs and paint to a dated coffee table for a mid-century modern look. - Reupholster a dining chair seat cushion with bold fabric. - $1 - Transform an old armoire into a bar cabinet with glass shelves and LED lighting. - Build a bench from reclaimed headboards and footboards. - Create a two-tone painted dresser with geometric patterns and mixed hardware.Remember, the key to trendy upcycling is to blend function with creativity—don’t be afraid to mix colors, textures, and styles!
Final Thoughts: The Joy and Impact of Upcycling Old Furniture
Transforming old furniture into trendy pieces isn’t just about saving money or following the latest home décor trends. It’s about making conscious choices for the environment, expressing your personal style, and enjoying the satisfaction that comes from hands-on creativity. With Americans spending an average of $2,400 on new furniture each year, upcycling offers a powerful alternative that’s kinder to your wallet and the planet. Whether you’re revamping a flea market find or breathing new life into a family heirloom, every transformed piece tells a new story—yours.