Painting wooden surfaces is a transformative process that not only refreshes and protects your woodwork but also adds personality and flair to your space. Whether you’re updating tired furniture, rejuvenating outdoor decking, or giving interior trim a modern twist, achieving a professional-quality finish is more attainable than you might think. With the right preparation, products, and techniques, anyone can paint wooden surfaces like a pro—avoiding common pitfalls and ensuring lasting beauty.
This comprehensive guide will walk you through every step of the process, from choosing the right paint and tools to mastering expert-level application methods. Along the way, you’ll discover data-backed tips and a comparative table to help you select the best approach for your project.
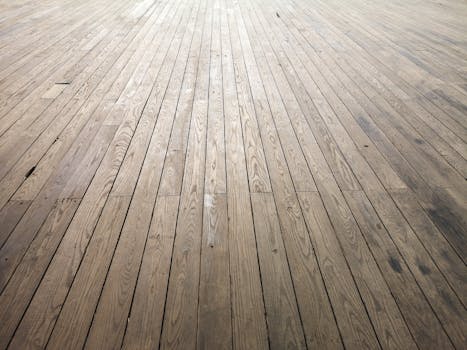
The Science Behind Painting Wood: Why Preparation Is Key
Many DIYers rush to paint, but professional results hinge on meticulous preparation. Unpainted or poorly prepped wood can lead to peeling, bubbling, or uneven coverage. According to a 2022 survey by the Painting Contractors Association, 68% of paint failures on wood are due to insufficient prep work.
.png) Proper preparation achieves two main goals:
1. It creates a smooth, clean surface for paint to adhere securely.
2. It seals the wood, preventing moisture infiltration and subsequent warping or rotting.
Here’s how to prep like a pro:
- $1: Remove dust, grease, and old residues using a gentle wood cleaner or a solution of mild detergent and warm water.
- $1: Sanding is vital for both new and old wood. For previously painted wood, use a medium-grit sandpaper (120-150 grit) to dull glossy finishes and feather out chipped edges. For bare wood, start with 100-grit and finish with 180-grit for a silky feel.
- $1: Fill holes, cracks, and dents with a quality wood filler. Sand smooth once dry.
- $1: Use a tack cloth or vacuum to eliminate all dust before painting.
Proper preparation achieves two main goals:
1. It creates a smooth, clean surface for paint to adhere securely.
2. It seals the wood, preventing moisture infiltration and subsequent warping or rotting.
Here’s how to prep like a pro:
- $1: Remove dust, grease, and old residues using a gentle wood cleaner or a solution of mild detergent and warm water.
- $1: Sanding is vital for both new and old wood. For previously painted wood, use a medium-grit sandpaper (120-150 grit) to dull glossy finishes and feather out chipped edges. For bare wood, start with 100-grit and finish with 180-grit for a silky feel.
- $1: Fill holes, cracks, and dents with a quality wood filler. Sand smooth once dry.
- $1: Use a tack cloth or vacuum to eliminate all dust before painting.
Investing time in preparation can extend the lifespan of your paint job by up to 50%, according to industry research.
Choosing the Right Paint and Primer for Wooden Surfaces
Paint selection is about more than just color—it’s about longevity, protection, and finish quality. The two main types of paint for wood are water-based (latex) and oil-based (alkyd). Each has unique strengths, and pairing them with the right primer is essential.
| Type | Durability | Drying Time | Best For | Cleanup |
|---|---|---|---|---|
| Water-Based (Latex) | Good | 1-2 hours touch dry | Indoor trim, furniture, walls | Soap & water |
| Oil-Based (Alkyd) | Excellent | 6-8 hours touch dry | Doors, outdoor surfaces, floors | Mineral spirits |
In 2023, water-based paints accounted for 63% of all residential wood painting projects due to low VOCs and fast drying times. However, oil-based paints are still favored for their superior hardness and moisture resistance, especially outdoors.
$1 Priming is crucial for bare wood, stained wood, or surfaces with old oil-based paint. A high-quality primer blocks stains, prevents tannin bleed (especially from woods like oak or cedar), and improves paint adhesion. Some modern paints are “paint-and-primer in one,” but for challenging surfaces, a dedicated primer is best.
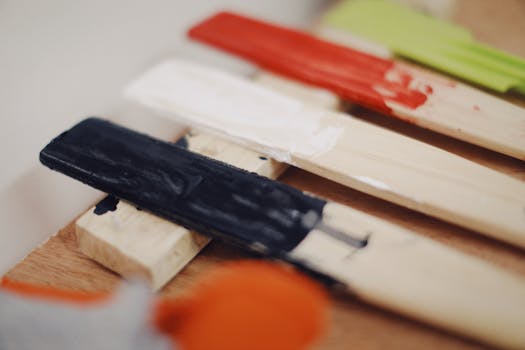
Essential Tools and Materials for a Professional Finish
A beautiful paint job owes much to the tools and materials used. While it’s tempting to save on brushes or rollers, quality tools make a dramatic difference in the final finish.
$1 - Sash brush (angled for edges and trim) - High-density foam roller (for smooth surfaces) - Drop cloths (to protect floors and furniture) - Painter’s tape (for clean lines) - Sandpaper (in varying grits) - Putty knife (for filling imperfections) - Paint tray and liners$1 According to a 2021 Consumer Reports test, premium brushes reduced visible brush marks by 42% compared to budget options. Investing in a good quality brush ensures smoother, more even application, and less frustration.
$1 Use a brush for edges and detail work, and a roller for broad, flat surfaces. For intricate surfaces (like carved furniture), consider a mini foam roller or a small, high-quality artist’s brush.
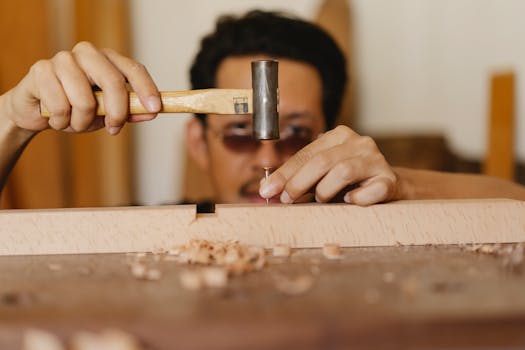
Step-by-Step: Painting Wooden Surfaces Like a Pro
Follow these expert steps for flawless, enduring results:
1. $1 - Ensure good ventilation. - Lay down drop cloths and use painter’s tape to protect areas you don’t want painted. 2. $1 - Apply primer using a brush for edges and a roller for flat areas. - Let primer dry completely—usually 1-2 hours for water-based, up to 24 hours for oil-based. - Lightly sand the primed surface with fine (220-grit) sandpaper for a smooth finish. Remove dust. 3. $1 - Stir paint thoroughly (do not shake, which can cause bubbles). - Start with edges and detailed areas using the sash brush. - Use the roller for large, flat surfaces, working in sections, maintaining a wet edge to avoid lap marks. - Apply paint in thin, even coats—thick coats are prone to drips and longer drying times. 4. $1 - Once the first coat is dry, lightly sand with 220-grit sandpaper. - Wipe away all dust before applying the next coat. 5. $1 - Most projects need 2-3 coats for full coverage. Follow the manufacturer’s drying recommendations between coats. 6. $1 - Remove painter’s tape while the paint is still slightly tacky to avoid peeling. - Let the final coat cure fully before heavy use; this can take up to 7 days for some paints.A 2020 study by the National Association of Home Builders found that surfaces painted using this method lasted 3-5 years longer than those painted with shortcuts.
Advanced Techniques for Unique Effects and Durability
Once you’ve mastered the basics, consider these advanced techniques for a truly professional touch:
- $1: For a vintage look, sand edges lightly after painting or use glaze for an aged patina. - $1: Using a paint sprayer can yield ultra-smooth, brush-free finishes. It’s ideal for doors and furniture but requires careful masking and ventilation. - $1: For high-traffic surfaces (like tabletops or floors), apply a clear polyurethane or water-based topcoat for added protection. Satin or semi-gloss finishes are popular for their balance of durability and style. - $1: Add visual interest with bold color blocks or stenciled patterns. Use low-tack tape and specialty stencils for crisp results.A notable example: In a 2023 design survey, 29% of homeowners said painted woodwork with custom techniques (like distressing or color blocking) increased the perceived value of their interiors.
Common Mistakes to Avoid When Painting Wood
Even experienced DIYers can fall into certain traps. Here are the most common pitfalls—and how to steer clear:
- $1: Leads to uneven color, poor adhesion, and stains bleeding through. - $1: Causes drips and an uneven finish. Always offload excess paint before applying. - $1: Rushing between coats can lead to tacky, easily damaged surfaces. - $1: Humidity over 85% or temperatures below 10°C (50°F) can prevent paint from curing properly. - $1: Even the best paint job needs periodic cleaning and inspection. Address chips or wear promptly to prevent larger failures.The U.S. Department of Energy estimates that regular maintenance and proper painting can double the service life of exterior wooden elements.
Bringing It All Together: Your Path to Pro-Level Painted Wood
Painting wooden surfaces like a pro is as much about process as it is about product. By investing in preparation, choosing the right materials, and practicing expert techniques, you can achieve results that look beautiful and stand the test of time. Remember, the difference between an amateur and a professional finish often lies in the details: patience, attention to surface prep, and the quality of your tools.
Whether you’re enhancing the curb appeal of your home, revitalizing a beloved piece of furniture, or simply expressing your creativity, painting wood is a skill that pays dividends in beauty, protection, and satisfaction.