Restoring antique wooden furniture is not merely an act of bringing old pieces back to life, but a meticulous craft that preserves the narratives and skills of bygone eras. Whether you're an experienced furniture restoration enthusiast or a beginner keen to revive a cherished heirloom, this guide provides a comprehensive look into the art of restoration, ensuring that each piece not only looks splendid but retains its historical integrity and value.
Why Restore Antique Wooden Furniture?
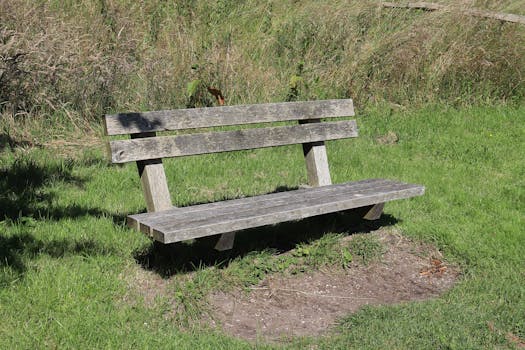
Antique wooden furniture embodies the craftsmanship and history of previous generations. These pieces are often constructed with techniques that are no longer commonly used, making them irreplaceable relics. Restoring such items can prevent the loss of artisanal heritage and, in many cases, increase their financial worth. However, it's essential to handle these antiques delicately to preserve their original features and authenticity.
.png)
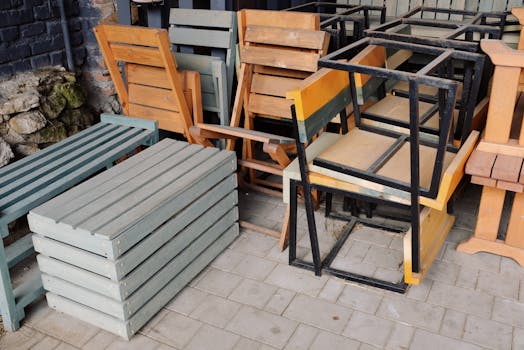
Evaluating the Furniture's Current State
The initial step in any restoration project is to thoroughly examine the piece. Identify any existing damages like scratches, dents, warping, or structural weaknesses. Assess any prior restoration attempts to determine if they can be improved or need to be reversed. This initial evaluation will greatly influence your restoration methods and the materials you choose.
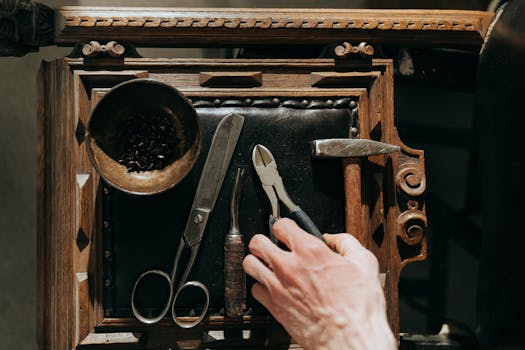
Essential Tools and Supplies
A successful restoration project requires specific tools and materials. Here’s a checklist to get you started:
- Sandpaper (various grits)
- Gentle wood cleaner and soft cloths
- Quality wood glue and clamps for tightening joints
- Epoxy resin or wood filler for repairing damages
- Stripping agents and putty knives for removing old finishes
- High-quality brushes, wood varnish, or oil
- Safety equipment, including gloves and masks
Cleaning and Preparing the Wood
Begin by cleaning the wood to remove accumulated dirt and residue. A wood-specific cleaner is preferable, applied with a soft cloth. For persistent stains, a diluted mild detergent can be used cautiously. Allow the wood to dry thoroughly before proceeding to ensure any moisture does not hamper the restoration process.
Stripping and Sanding
If the existing finish is damaged or detracts from the piece's appearance, it may need to be removed. Apply a stripping agent, following the product's guidelines, and gently scrape away the old finish. After stripping, sanding the wood is crucial to obtain a smooth base for refinishing. Start with coarser grits and progress to finer ones for the best results.
Repairing and Reassembling
Address structural issues such as weakened joints or broken parts by applying wood glue and securing with clamps. For cracks or missing sections, fill these areas with epoxy resin or a matched wood filler. Sand down the repaired areas to create an even, seamless surface.
Applying the Finish
Select a finish that complements the furniture’s style and era. Varnish offers a durable, glossy coating, while wood oils enhance the grain’s natural beauty. Apply your chosen finish with a clean brush, working along the grain, and allow adequate drying time as advised by the product instructions.
Ongoing Care and Maintenance
Post-restoration, it’s vital to maintain the furniture properly to protect your hard work. Regular dusting with a soft cloth, avoiding harsh cleaning agents, and keeping the furniture out of direct sunlight and away from moisture will help preserve its condition and appearance.
Conclusion
Restoring antique wooden furniture is a profound way to connect with history while recycling old pieces into functional, beautiful additions to modern homes. With careful attention to detail, the right tools, and a respectful approach, you can preserve these historical treasures for future generations to cherish.
By adhering to this guide, you’ll be equipped to undertake furniture restoration projects with confidence and skill, ensuring that each piece not only enhances your home but also honors the legacy of traditional craftsmanship.