Introduction
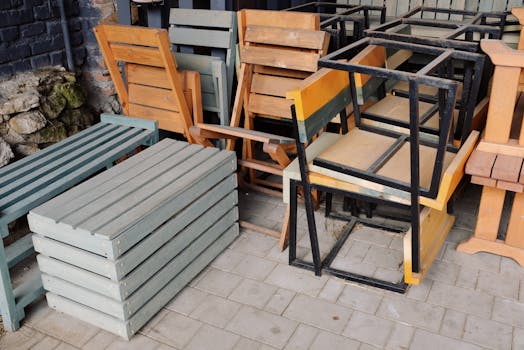
Reviving old furniture through wood restoration not only preserves heritage but also contributes to environmental conservation by recycling and reusing. This comprehensive guide aims to equip both novices and experienced DIYers with the necessary knowledge and techniques to successfully restore wooden furniture, ensuring these pieces can be enjoyed for many more years.
Step 1: Understanding the Basics of Wood Furniture Restoration
.png)
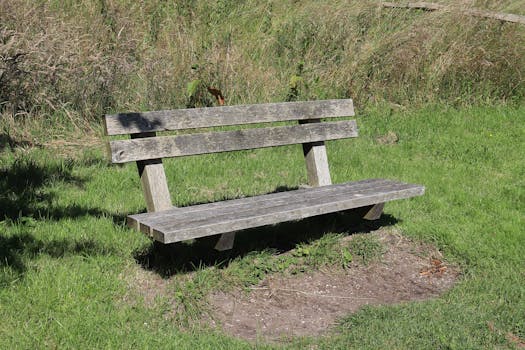
Firstly, it’s crucial to ascertain the type of wood and the historical significance of the furniture. Distinguishing between softwood and hardwood, for example, will guide your choice of restoration methods and products, as these materials differ in resilience and treatment needs.
Step 2: Assessing the Condition
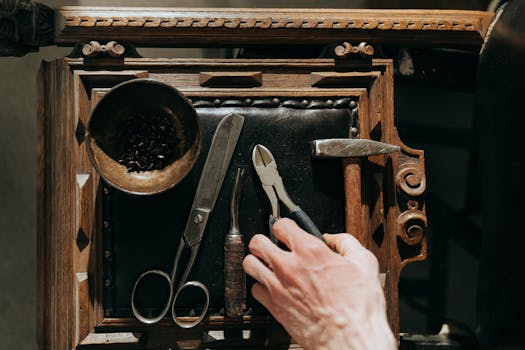
Conduct a thorough examination of the furniture for any structural damage, such as cracks, warping, or water damage. Loose joints or broken elements should be noted, as this assessment will determine the feasibility of restoration and the nature of repairs required.
Step 3: Cleaning the Furniture
Begin by eliminating surface dirt and dust using a soft brush or vacuum with a brush attachment. For deeper cleaning, a wood-specific cleaner or a mild soap and water solution can be applied sparingly to avoid moisture damage. Always finish by drying the wood with a soft, clean cloth.
Step 4: Stripping Old Finish
Remove old, deteriorating finishes using a chemical stripper, following the manufacturer’s guidelines carefully. Apply evenly with a brush, allow it to sit for the recommended period, then scrape off gently. Ensure you wear protective gloves and work in a well-ventilated area during this step.
Step 5: Sanding the Wood
Post-stripping, sanding is essential to prepare the wood for a new finish. Start with coarse-grit sandpaper to remove residue and smooth rough patches, then progressively use finer grits for a polished surface. Always sand in the direction of the grain and clear dust with a tack cloth or slightly damp rag.
Step 6: Repairing Damage
Utilize wood filler or glue to mend cracks, splits, or other damage. Follow the product's instructions for application and drying times. Once dry, sand the area to integrate the repair smoothly into the surrounding wood. For strengthening loose joints, apply wood glue and secure with clamps until set.
Step 7: Applying a New Finish
Select an appropriate finish such as varnish, lacquer, or oil to enhance the wood’s beauty and protect its surface. Each finish type offers varying aesthetic effects and durability, so choose based on the furniture’s intended use and your personal taste. Apply the finish following the wood grain and allow ample drying time between coats.
Step 8: Maintaining Restored Furniture
Regular maintenance is key to preserving the condition of restored furniture. Dust frequently, avoid direct heat exposure, and use protective accessories like coasters. Regularly inspect for and rectify any loose joints or minor damages to extend the furniture’s life.
Conclusion
Wood furniture restoration is not just about refurbishing; it’s about reviving and respecting the past. With proper care and the right techniques, even the most worn-out pieces can be transformed into functional, beautiful furnishings. This rewarding endeavor not only enhances your living space but also contributes to sustainable living practices.