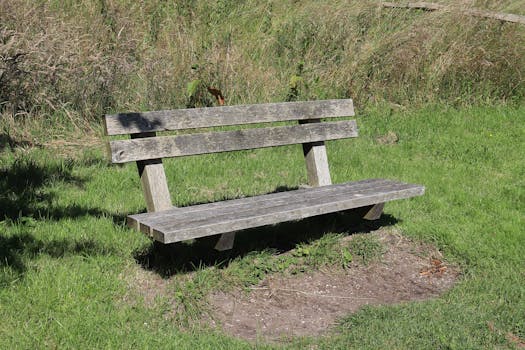
Wooden furniture has a timeless appeal, but over years of use, even the most cherished pieces can show signs of wear and tear. From minor scratches and loose joints to deep gouges and water stains, damage to wooden furniture is almost inevitable. Fortunately, many of these problems can be fixed with the right techniques, restoring both the beauty and functionality of your favorite items. Whether you’re dealing with an antique heirloom or a modern centerpiece, understanding top repair methods can save you considerable money and help preserve the character of your home.
In this comprehensive guide, we’ll explore the most effective and reliable techniques for repairing wooden furniture. We’ll cover everything from surface blemishes to structural issues, drawing on expert advice and real-world examples. By the end, you’ll have a toolkit of solutions for tackling common (and not-so-common) furniture problems.
Understanding Common Types of Wooden Furniture Damage
Before diving into repair methods, it’s crucial to identify the types of damage wooden furniture commonly faces. According to a 2023 survey by the American Woodworkers Association, the most frequent issues reported by homeowners are:
.png) - Surface scratches (reported by 62% of respondents)
- Water stains and rings (51%)
- Loose or wobbly joints (44%)
- Cracks and splits (29%)
- Veneer peeling or bubbling (18%)
- Surface scratches (reported by 62% of respondents)
- Water stains and rings (51%)
- Loose or wobbly joints (44%)
- Cracks and splits (29%)
- Veneer peeling or bubbling (18%)
Each type of damage requires a different approach. For example, a superficial scratch may just need a simple touch-up, while a split leg might call for reinforcement and glue. Understanding the nature and extent of the damage is the first step in effective repair.
Surface Restoration: Fixing Scratches, Dents, and Stains
Surface blemishes are the most common problem with wooden furniture, especially in high-traffic areas like dining tables or coffee tables. Thankfully, several techniques can restore surfaces to like-new condition.
1. $1: For light scratches, a walnut or pecan can work wonders. The oils from these nuts help blend the scratch into the wood’s grain. For deeper scratches, a wood stain marker or furniture touch-up pen that matches your furniture’s color offers a more permanent solution. 2. $1: Small dents can often be repaired using steam. Place a damp cloth over the dent and apply a hot iron for 10-15 seconds. The moisture causes the wood fibers to swell, raising the dent back to level. 3. $1: White rings from hot mugs or water glasses are notorious. Try gently rubbing the area with a mixture of baking soda and non-gel toothpaste, then wiping clean with a damp cloth. For persistent stains, apply a small amount of mayonnaise and let it sit overnight—the oils can sometimes draw out the moisture. 4. $1: When dealing with widespread surface wear, light sanding (using 220-grit sandpaper) followed by a fresh coat of finish or polish can make the whole piece look new again.Structural Repairs: Strengthening Joints and Frames
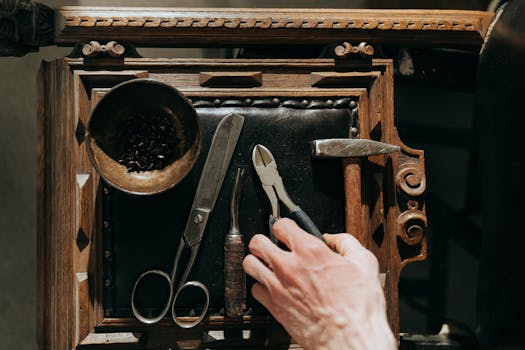
A shaky chair or a table with a wobbly leg isn’t just unsightly—it’s a safety hazard. Structural repairs require not just cosmetic improvement, but ensuring lasting strength.
1. $1: Most wooden furniture is held together by joints like mortise-and-tenon, dowels, or dovetails, often secured with glue. Over time, glue can dry out. The best method is to disassemble the joint (if possible), clean off old glue, and reapply a strong wood glue such as Titebond III. Clamp the parts together for a firm bond. 2. $1: If a joint is prone to repeated loosening, consider adding reinforcement. Corner braces, metal brackets, or even wooden dowels can provide added strength. According to the National Furniture Repair Association, reinforced joints can extend the functional lifespan of a chair or table by up to 10 years. 3. $1: For cracks or splits in wooden frames, inject high-quality wood glue into the crack, then clamp until set. For larger breaks, using a wood filler or even a custom-cut wooden spline (a thin strip inserted into a groove) will provide greater strength.Veneer and Inlay Repairs: Tackling Peeling and Missing Details
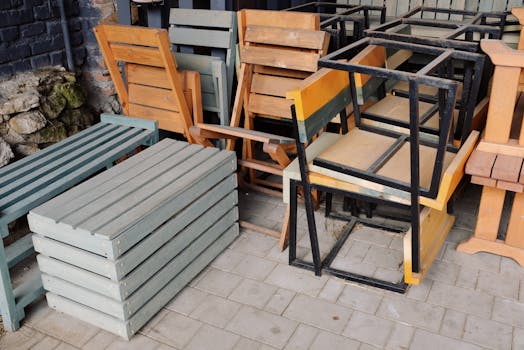
Veneered furniture offers beautiful patterns and finishes, but is prone to peeling, bubbling, or chipping over time. Inlays—decorative pieces embedded in the surface—can also loosen or fall out.
1. $1: If you spot a loose or bubbling veneer, carefully lift the affected area and apply a thin layer of wood glue underneath. Press the veneer flat, then clamp or weigh it down until the glue dries. For bubbles, use a syringe to inject glue, then smooth it with a roller. 2. $1: Cut a patch from matching veneer and glue it into place, making sure the grain direction matches. For small inlay pieces, wood putty colored to match the surrounding area can fill the gap. For best results, sand gently and touch up with matching stain or finish. 3. $1: Always keep veneered furniture away from direct sunlight and excessive humidity, as these factors accelerate peeling and warping.Filling Cracks, Gouges, and Holes: Techniques and Materials
Deep cracks, gouges, or holes are more than just cosmetic flaws—they can threaten the integrity of a piece. Selecting the right material is key to a seamless, long-lasting repair.
| Repair Material | Best For | Application Method | Pros | Cons |
|---|---|---|---|---|
| Wood Filler | Small cracks, gouges | Apply with putty knife, sand when dry | Easy to use, paintable | May not accept stain well |
| Epoxy Putty | Large holes, structural repairs | Knead to mix, press into defect, shape as needed | Extremely durable, can be drilled | Harder to sand, may require painting |
| Wax Sticks | Fine scratches, shallow chips | Rub into defect, buff smooth | Quick, color-matching options | Not as strong, for minor repairs |
For best results, always overfill the defect slightly, then sand flush once the material is fully cured. This ensures a smooth, even surface after finishing.
Expert Tips: When to DIY and When to Call a Professional
While many furniture repairs are well within the reach of a capable DIYer, some situations require expert intervention. According to a 2022 survey by HomeAdvisor, 37% of homeowners who attempted complex furniture repairs ended up calling a professional due to incomplete or unsatisfactory results.
Consider calling a pro if:
- The piece is a valuable antique (improper repairs can reduce value by 50% or more) - Structural components are severely damaged or missing - Complex finishes (such as French polish or intricate marquetry) are involved - Previous repairs have failed or caused additional damageFor most scratches, dents, and loose joints, careful DIY work is safe and effective. However, always research the specific needs of your furniture’s wood type and finish before proceeding.
Conclusion: Restoring the Life and Beauty of Wooden Furniture
Repairing wooden furniture is both an art and a science. With the right knowledge and materials, you can tackle everything from a scratch on your coffee table to a split in your favorite dining chair. Not only does this extend the life of your furniture, but it also preserves memories and craftsmanship that might otherwise be lost.
Remember, patience and attention to detail are your best tools. Always match repair materials to your furniture’s finish, follow recommended drying times, and when in doubt, seek advice from a professional restorer. With these top techniques, you can confidently restore wooden furniture to its former glory—saving money, reducing waste, and enjoying beautiful, functional pieces for years to come.